How To Install An Irrigation Sprinkler System – DIY Guide
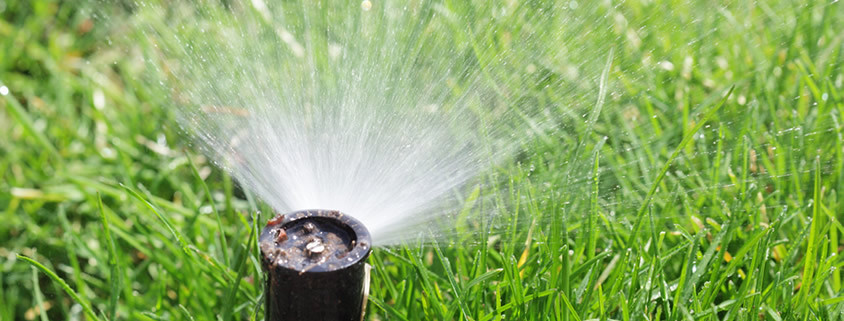
There may come a time when a person gets tired of dragging around a lawn sprinkler. They will be ready to install an underground sprinkler system. The sprinkler components are easy to assemble. Once it is in place, watering a lawn will require much less effort.
Prior To Installation
It’s important to see if there are any local governmental requirements or some type of building permit needed. Before doing any digging, it’s important to check for any type of underground utilities. See if a sprinkler system must follow any local watering ordinances. The possibility of state or local laws requiring a sprinkler system be installed by a licensed professional must be checked.
Before Purchasing Components
A person will need to know the water pressure, water meter size or well pump size and water service line size. Things such as water flow rate and what kind of backflow prevention are required by local law has to be known before installation begins.
Coverage
When planning sprinkler system coverage, it is important to avoid dry spots. This can be done with an overlap spray pattern is used. Each sprinkler head is made to meet a particular watering needs. Many are adjustable. Sprinkler heads need to be chosen based on the zones and location of trees, lawn, sidewalks and more. Large areas will need one type of sprinkler and corners may need another.
Proper Piping
PVC piping is the most common material used for sprinkler system projects. When people are installing a sprinkler system in a colder area, they may want to use polyethylene. This is more flexible and able to adapt better to a climate’s freeze cycle. It is able to be curved to fit around natural and manmade obstacles. Polyethylene will require fewer fittings than PVC.
Digging Trenches
Once all the information and necessary design work have been done, the required parts purchased, it is time to start digging. Stakes and strings can be used to lay out the location of the lines. Flags or another type of marker can be used to identify the location for the sprinkler heads. The trenches need to be 12 inches or less. The depth will be determined by the freeze cycle where the sprinkler will be located. Trenches can be dug by hand or using a trencher. If a trench goes through a shrub or flower bed, it is recommended to do this area by hand. This will prevent damage to plants. It is important the trenches be level. If they are not, the gravity can decrease the efficiency of a sprinkler system. The sod needs to be saved to cover the trench at the end of the installation.
Running Piping
Run the main feed line until all the piping is connected. Run copper pipe and cable through a bore hole in the home. Assemble zone valve sets above ground and cement them to underground piping. Inline drain fittings should then be installed. Connect cable wires. Connect valve lead wires to common cable wire. Connect wires of different colors to zone valves. When valve and wires are connected, it is time to install valve boxes and backfill. A brass drain needs to be threaded into the end of the pipe tee. Dig small depression under the drain and fill.
Sprinkler Heads
There are a number of ways sprinkler head can be connected. A 90-degree ell with barb fittings can be installed, if drainage is not an issue. If it is, a 90-degree drail ell can be installed. The 90-degree ell can be fit into the bottom of the sprinkler head. The holes can then be filled, and the sod can be put in place over the trenches with a rubber mallet.
Finishing
Any possible debris needs to be flushed from the line prior to the final connection of the sprinkler heads. This will also enable the pipeline to be checked for possible leaks.


Leave a Reply
Want to join the discussion?Feel free to contribute!